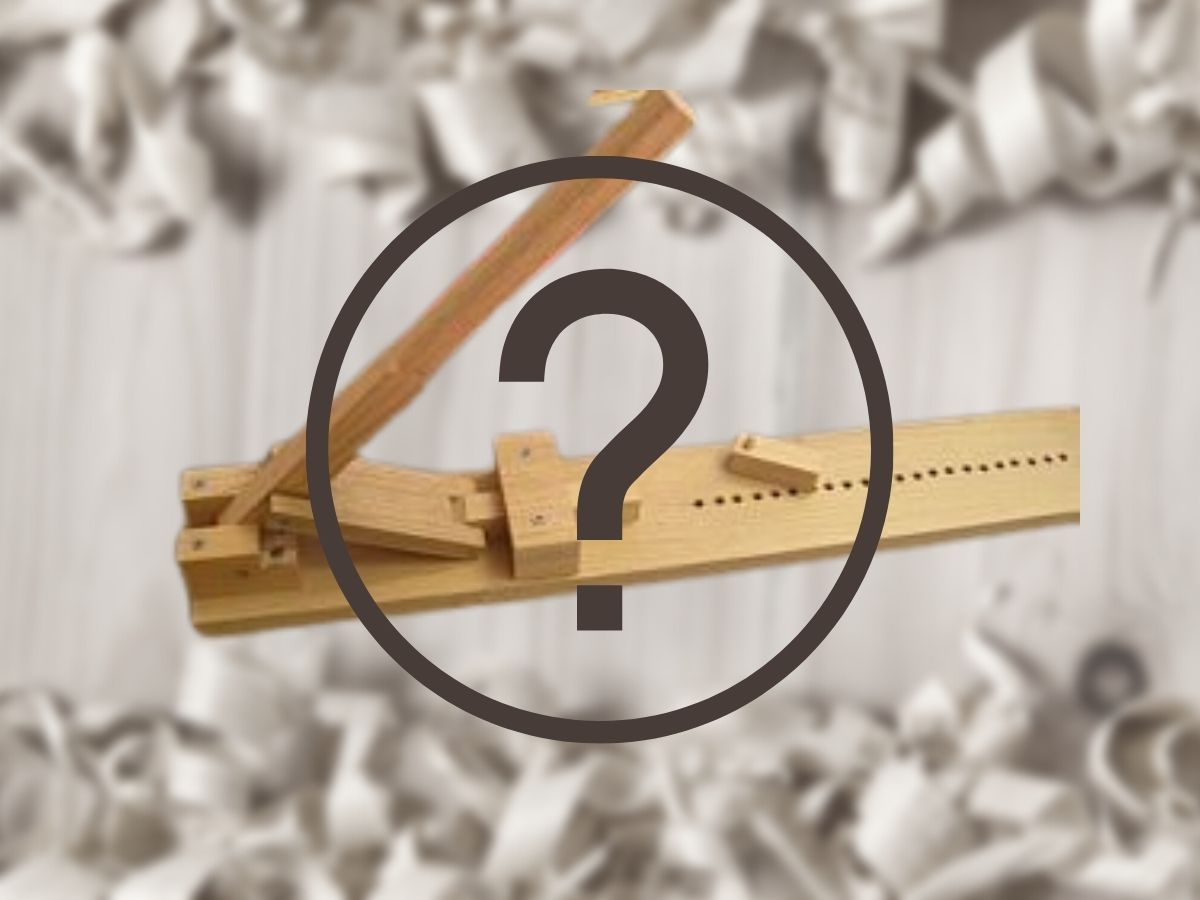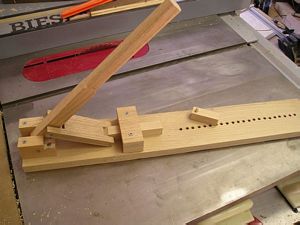
There are many ways to assemble a turned pen. I wanted a way to assemble my pens that was easy and portable. You can buy assembly presses in the stores and catalogs but I wanted to make my own using my years of experience. This is my second generation effort. Building the first-generation prototype allowed me to work out all the bugs and to arrive at such a strong final unit.
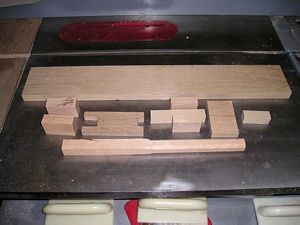
Here are all the parts that I cut to make the unit. They are mostly 3/4″ stock with the exception of the joiner board (connects the handle to the slide) and the top to the slide guide.
All of this wood was scraps in the shop. You can pick your own sizes for all the pieces.
I’ve layout out the pieces basically in the way that you would use them. The top piece is the base. In the second row, from the left to the right, you have the bottom lever blocks, the joiner board, the slide sandwiched by the bottom slide guides, to the right of the slide (and guides) is the top to the slide guide and finally the pressboard. The last piece on the bottom is the press handle. Approximately 1/2 of the handle has been rounded over to make holding it more comfortable.
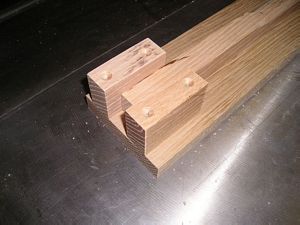
The first step was to cut the base. I cut it ~4 inches wide and 24 inches long. Then I made a handle that was 3/4 inch square and 14 inches long. I used the router to round over the edges on the first 7 inches. I placed the two bottom lever blocks on each side of the handle and screwed them to the base.
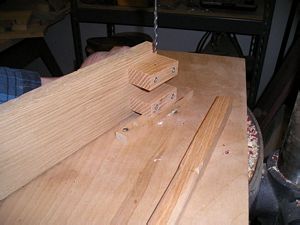
Once the bottom lever blocks were installed. I used the drill press to drill a hole through the blocks and the handle. I planned to use a 3/16 inch steel rod as my lever pin. I bought 3 feet of it from the local hardware store.
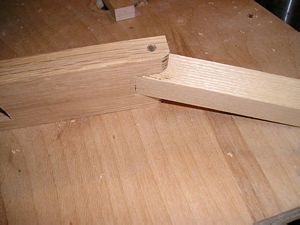
Next, I took my 3/4 inch square slide and attached it to the slide joiner board by drilling it and inserting a length of the steel pin. I used a hacksaw to cut the steel pin. You can also see that I’ve rounded over the end of the joiner board with a belt sander.
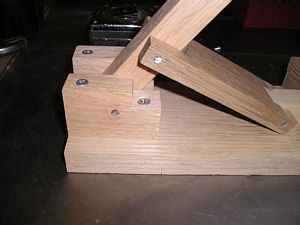
Now I’ve attached the joiner board to the handle with another steel pin. You can also see that I’ve decided to notch the bottom lever blocks to give me more clearance. The key to the entire jig is that the distance from the bottom to top pins on the handle is equivalent (or close enough) to the throw of the slide.
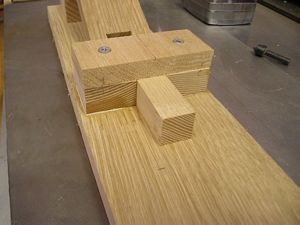
To ensure that the slide runs parallel to the base, I’ve added a slide guide. It’s just two blocks (one on either side of the slide) and a top. The screws go all the way into the base. I made the length of the slide guide so that the joiner board barely hits it when the handle is completely down and the slide sits slightly proud of the guide when the handle is up.
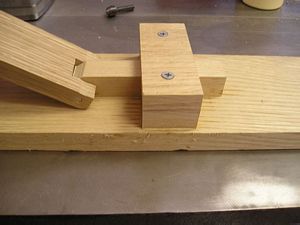
Here is a side view of the slide guide.
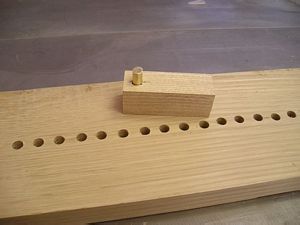
To work, the slide must press against something, so I’ve created a stop using a peg and a set of holes set 1/2″ apart. I’ve seen stepped stops but I like the ability to move the pressboard in small increments.

Here is the finished unit. The last thing that I did was to use CA glue to attach a piece of thin (1/16″) plexiglass to both the end of the slide and the end of the stop. This way, the sharp point of the pen tips will not damage the wood. Best of luck in making yours!!
