This is a project by master turner Bill Grumbine. We are proud to host it.
Intro
In the early part of 2001, I was approached by an acquaintance and asked if I could turn a funeral urn for his father’s remains. His father had been an avid woodworker, and the family thought it would be a fitting tribute to his memory to have one made of wood. My acquaintance provided the shape he wanted, as well as the required volume. During a visit to my shop, the family decided on a walnut for the piece.
Turning a piece of this size was a little bit of a challenge for me, as I had never turned anything this big before. Because of the shape and size, we agreed to make the entry through the bottom, and then seal it with a recessed panel. The top is solid but dished out slightly giving the appearance of a vase.
The Process
I started out with a block of walnut 19″ long and approximately 12″ square, in spindle orientation. Since I happen to have a scale in the shop, I also knew that it weighed 79 lbs when it first went on the lathe. I attached it to a 4″ faceplate, using nine 1 ½” screws. To rough it out, I also brought the tailstock up for support.
After roughing the block to round, and getting the basic shape, I installed my monster steady rest on the lathe and removed the tailstock. This allowed me to hollow it out to the required depth without yanking it off the faceplate or at the least, knocking it out of round. I left as much mass as possible during the rough out, in order to keep my options open until I got the depth I needed.

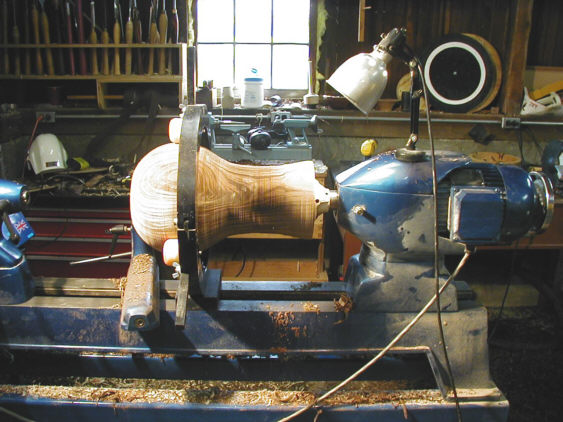
In the picture above, you can see the rough blank trued, with the steady rest installed, and ready to hollow.
The volume specified by the funeral home was 225 cubic inches, or just under one gallon (231 cubical inches). Using the formula for a sphere, I came to the conclusion that I was going to need a spherical shape about 8″ in diameter. I also decided to add in a little extra volume so as not to come up just a little short due to any slight miscalculations. Besides, I had no way to measure the volume on the lathe, and I was not about to remove and reinstall it to check it along the way. After I got it off the lathe and filled it with water from a measuring cup, I came up with about 270 cubic inches.

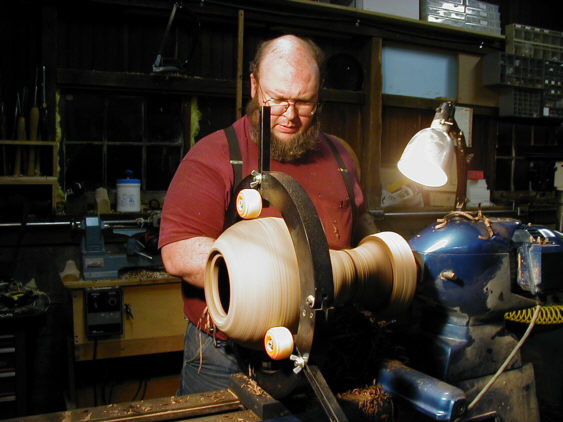
In the picture above, you can see the opening after hollowing. There is a recessed rabbet to accept a hardwood veneer plywood panel.

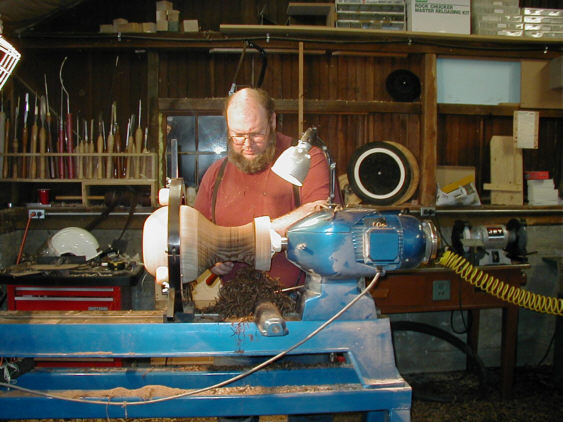
Here I am shaping the urn to its general appearance before parting off from the faceplate. By the way, you may notice that my air helmet is lying on a bench in the background instead of on my head where it belongs. It was only off my head for the pictures, so you all could get a glimpse of my boyish good looks. Otherwise, it would have looked like an Imperial stormtrooper doing the turning.
After the roughout was completed, I parted it off the lathe and dumped it in a five-gallon pail of a solution containing soap, water, and alcohol. It is an experimental process but seems to have some sort of stabilizing properties. The log had been sitting in the field for almost nine months since it had been cut, but it was also close to 40″ in diameter, so it was not even close to being dry.
It sat in the soap solution for about two weeks. It stuck up out of the stuff just a little, so I “basted” it several times a day to keep it wet. At the end of the two weeks, I took it out and let it drain and dry for another two weeks.
I had every intention of taking a few more pictures as I finished the turning process. I had lots of good intentions, but not lots of time. So you’ll just have to imagine until we get to the finished product.
I had planned on using my experimental vacuum chuck to do the deed, holding the urn to the headstock by vacuum and steadying it again with the steady rest. While it had proven to be remarkably stable, it still needed some retruing, and I could not get the vacuum chuck to make a good seal. Fortunately, I was able to create a reasonably secure grip by using the #3 jaws in my Stronghold chuck in the expansion mode. I retrued the urn between centers and then reinstalled the steady rest. Even with the steady, I used the tailstock for support for as long as possible, removing it only for the final operation of shaping the very end of the top.

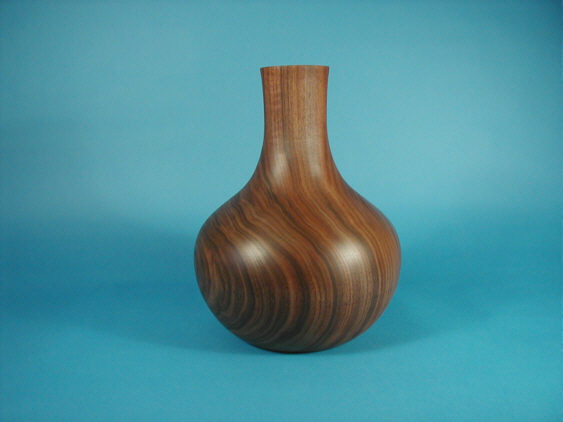
Here is the finished piece. The urn was sanded to 400 grit on the lathe, and then hand sanded with the grain off the lathe, again with 400 grit. The final finish is Watco Danish Oil and waxed with Butcher’s Wax. It is a very simple form. I like simple forms, but a good one can sometimes be harder to achieve than something more complex. The important part is that the recipient liked it.
